
When I was
little my mum used to take me to different craft stores (mind you NOT because
she was especially keen on it…) and I loved every sec of it. My very favorite
one was close to her work and I could spend hours in there just planning little
projects and looking at all the sparkles. You know the expression “ like a kid in a
candy shop?” well, this was my candy shop (......man I’m corny).
Now I have
partnered up with that very Craft store (I know, an OMG, jumping up and down, arms flailing -moment!!).
They are letting me go crazy (literally) in their store and use their equipment
and beads to make you guys DIY’s! How awesome are these people? The store is
called Perlehuset, and is located in Majorstuen in Oslo, BUT let me tell you
dear friends, since most of you are not from Norway… how perfect is it that
they also have an online store (its in Norwegian, but im sure you all know the language by now :) ... and google translate certainly does, so just click YES in the "do you wish to translate this" pop up (if you use the google browser) ) and a facebook page you can check out.
Agate has been everywhere for the last year, and I am definitely not the first one to feature a tutorial using it. But its just too awesome not to get craft'y with!! So here we go, an Agate necklace:


//Shirt: Zara / Jeans: Citizens Of Humanity / T: Splendid//
I will start adding my DIY steps after the jump, hoping it will be easier to follow when I have bigger pictures! Let me know what you think! Do you like it, or should I start making the PhotoShop collages again?
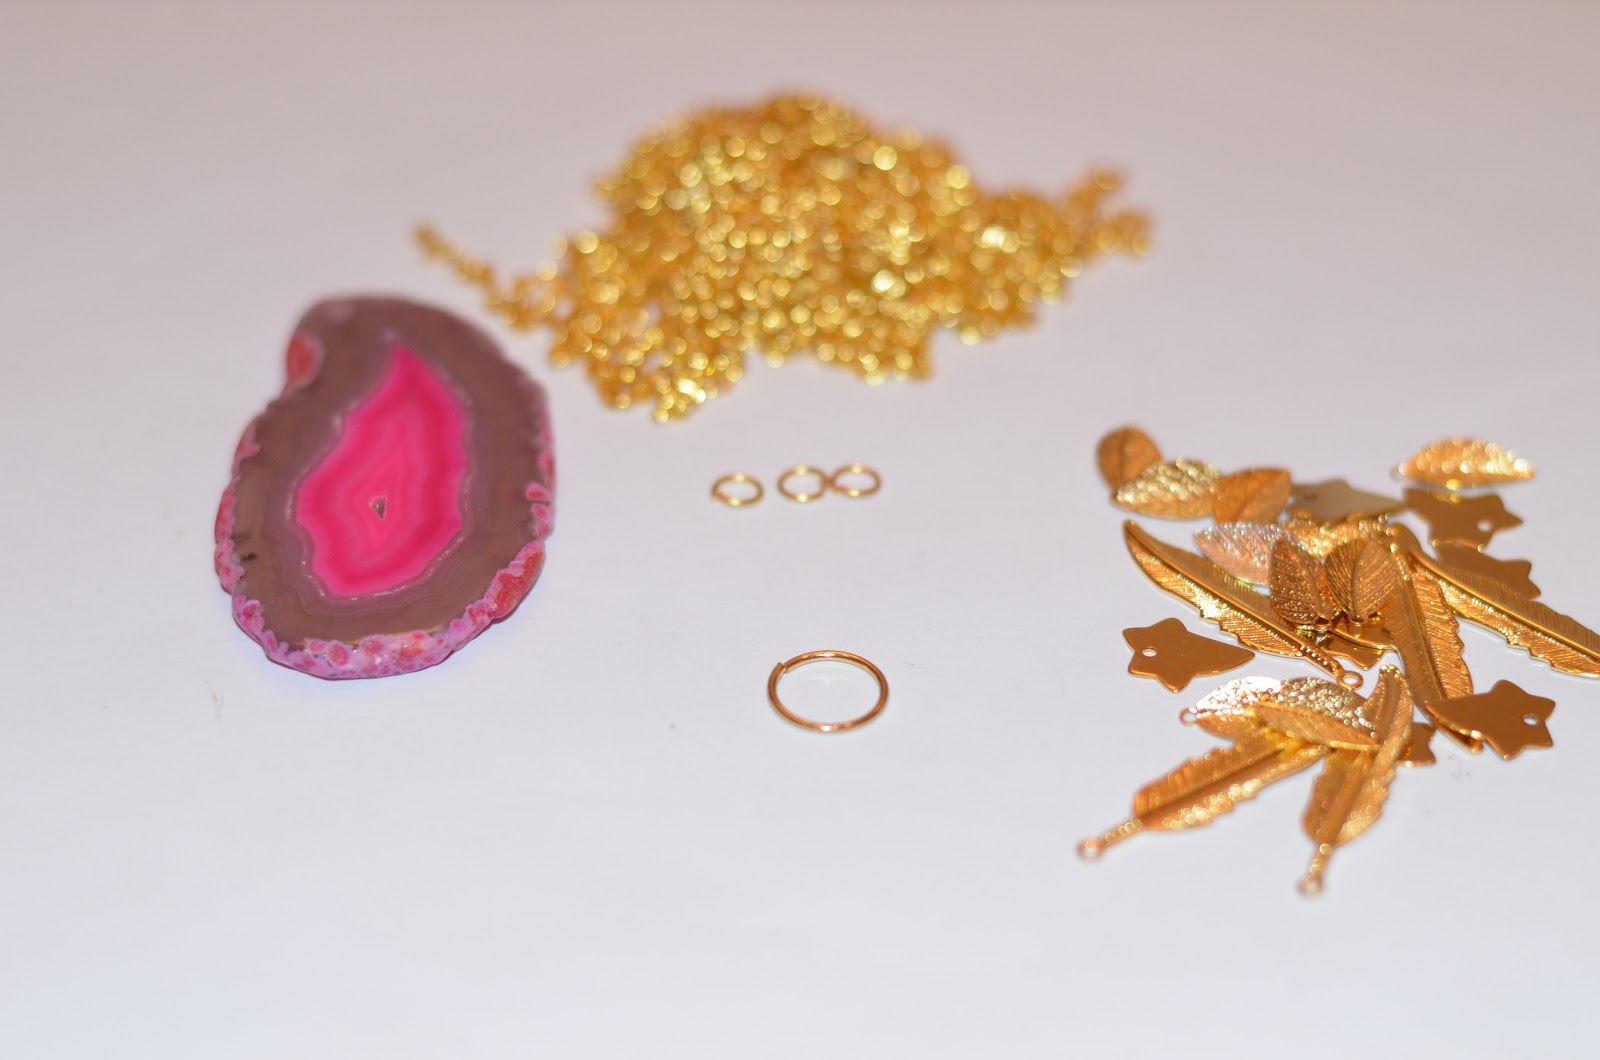
You will need: One agate disk with a hole in one end, gold charms, thing gold chain, a few small jump rings and one big jump ring. (See that issnt much at all is it?)

I started by making the "tassel" but whatever floats your boat. To make it, you add a jump ring to a 3 cm long piece of chain. Then you add your charms to the chain with jump rings. I just made mine a random pattern, since all my charms were the same. But I would imagine it would be nice to add a bigger one at the end ect.


Then attach the (lets just call it at tassel) to the agate disk with the big jump ring.

Measure the chain, I wanted my necklace to be fairly long. Then pull it through the jump ring.
Since I opted for a long necklace I didnt add a clasp ( this one is for you Aneta :) sorry, inside joke) I just fasten the two ends of the chain with a jump ring.


Disclosure: I was not compensated for this post. I choose the supplies for this post myself at Perlehuset without having to pay for it. All opinions are my own. I would never feature projects that I didn’t love, created and wore myself- Hekk, I would never feature anything that I don’t love 100%.
Love the necklace and the shirt that you're wearing as well!
ReplyDeleteUne bien jolie publication... J'aime ce pendentif... Merci de nous montrer l'évolution de sa création...
ReplyDeleteGros bisous
Thats so cool. Congratulations.
ReplyDeletexx Tanya
http://aciddreamsandsugarhighs.blogspot.com/
Amazing ! Love that you added the leaves, add a little extra !
ReplyDeletePlease come and see my latest DIY project
New DIY project - A Pretty Nest
Thanks Marie-Eve! I will for sure check that out!
Deletelove K
So sorry Katrine about the inside clasp thing, lock is perfectly ok!!!!! So lovely of you to rediscover our little shop, very cool with childhood memories, welcome back and see you soon.
ReplyDeleteNo no no, I was so happy you reminded me :) see you soon!!
Deletelove K